
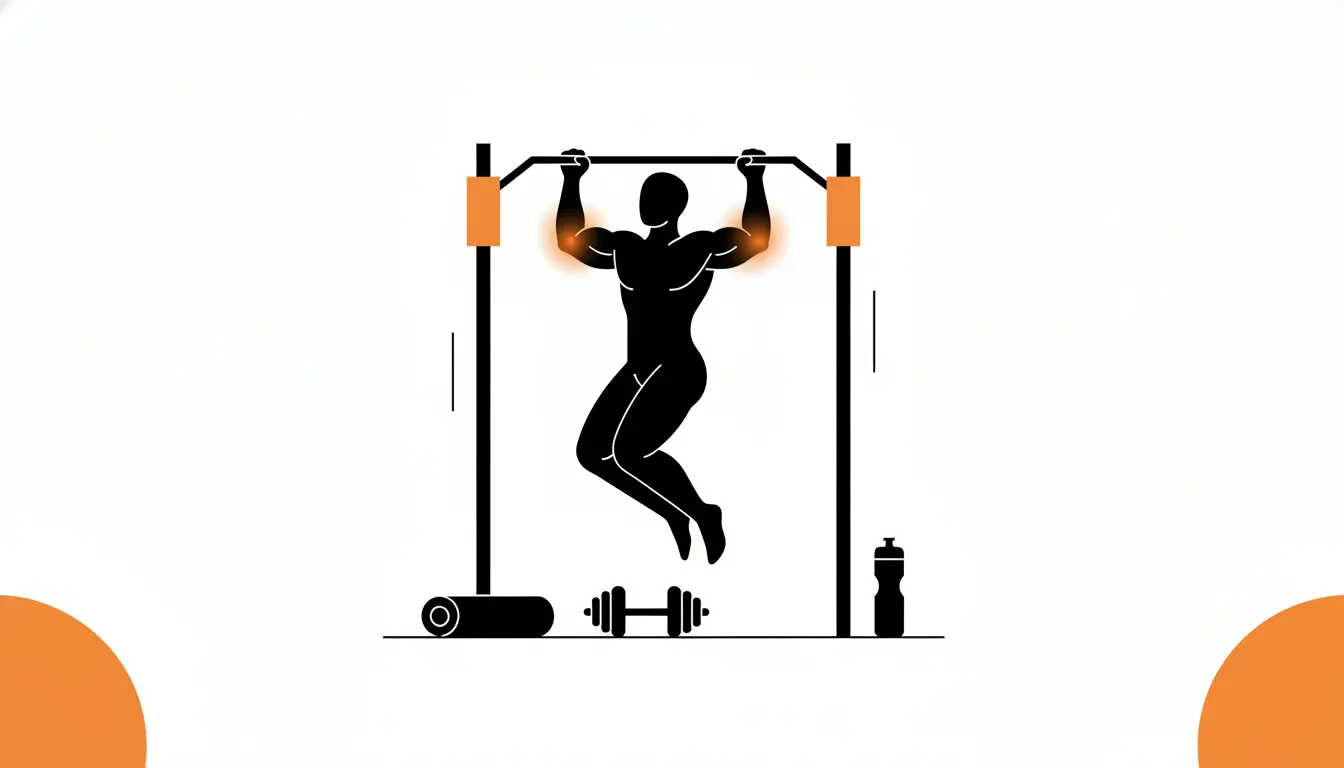
If you want a stronger back, better posture, and pull ups that actually improve week to week, a calisthenics home pull workout is one of the smartest things you can do. You do not need a full gym. You need a plan that covers vertical pulling, horizontal pulling, and the small muscles that keep your shoulders happy. In this article I will give you a simple setup, a quick warm up, the best home friendly pull exercises with progressions, and two complete workouts for beginner and intermediate levels. You will also learn how to progress without guessing.
What a calisthenics home pull workout really trains
The muscles that matter
A proper pull session is not just about biceps and getting your chin over a bar. The goal is to train your lats, mid back, rear shoulders, and grip in a balanced way. When you do that, pull ups feel smoother, your shoulders sit better, and everyday stuff like carrying and lifting feels easier.
In practice, I like to think in three buckets. If you hit all three, your program stays complete even with minimal equipment.
- Vertical pulls: pull ups and chin ups for lats and biceps
- Horizontal pulls: rows for mid back, rear delts, and posture
- Accessories: face pulls, holds, scapular work for shoulder stability
Why home pull training works so well
Home training forces you to respect form because you cannot hide behind machines. If your reps get sloppy, you feel it right away. That is a good thing. With bodyweight you can still apply progressive overload by adding reps, slowing the lowering phase, adding pauses, or moving to harder variations.
Also, pull training is one of the fastest ways to improve how your upper body looks and feels. Many people sit a lot and end up with tight chest and weak upper back. Consistent pulling balances that out.
Equipment setup at home (minimal but effective)
The no nonsense options
You can train pulling at home with almost nothing, but having the right anchor point makes everything easier to program.
- Pull up bar: best option for long term progress
- Table or sturdy desk: perfect for bodyweight rows
- Towel in a door: a simple way to row when you travel
- Resistance band: makes pull ups scalable and adds great accessories
Two subtle gear picks I actually like
I keep recommendations simple. If you train at home, two pieces from Gornation are genuinely worth considering because they solve common problems without adding complexity.
Gornation Resistance Bands: they are useful for assisted pull ups, smoother volume work, and face pulls. If you are between 0 and 5 pull ups, bands can keep your technique clean while you build strength.
Gornation Gymnastic Rings: rings give you excellent rows, face pull variations, and a shoulder friendly grip. They also work if you cannot install a bar right now, as long as you have a safe place to hang them.
That is it. You can do everything in this article with just a bar, or just rings and a door safe setup.
Warm up (do this even when you are busy)
5 to 8 minutes that protect your shoulders
Pulling heavy with cold shoulders is a great way to get irritated elbows and cranky joints. A good warm up should wake up your shoulder blades, open your chest a bit, and get blood into your upper back.
If you want a structured option, this guide is a solid baseline: how to warm up for calisthenics training.
- Scapular pulls on the bar: 2 sets of 6 to 10
- Band pull aparts or light rows: 2 sets of 12
- Dead hang with relaxed breathing: 20 to 40 seconds
- Easy rows: 1 to 2 sets of 8
Quick rule for readiness
If your first set of rows feels stiff, do one more warm up set. If your elbows feel “sharp”, reduce intensity and prioritize rows and accessories that day. Consistency beats ego, especially at home when you train without spotters.
The best pull exercises for home (with progressions)
1) Assisted pull ups and negatives
If you cannot do clean pull ups yet, do not panic. The fastest path is a mix of assisted reps and slow negatives. Focus on staying tight, ribs down, and pulling your elbows toward your pockets.
For a clear setup, see: how to do assisted pull ups.
Progression tip: keep the same rep target and reduce assistance over time. That is more measurable than randomly switching variations every week.
2) Standard pull up and chin up
Pull ups and chin ups are your main strength builders. Use a full hang at the bottom, no rushed half reps. I would rather see 4 perfect reps than 8 messy ones.
Common mistake: craning your neck to “find the bar”. Instead, keep a neutral neck and bring your chest slightly toward the bar as you pull.
3) Wide grip pull up (use it like a tool, not a religion)
Wide grip pull ups can be great for building upper back and lat width, but too wide often turns into short reps and irritated shoulders. My rule is simple: slightly wider than shoulders, and still controlled.
Technique details here: how to do wide pull ups.
4) Inverted rows and table rows
Rows are non negotiable if you want healthy shoulders and a stronger mid back. They also let you add volume without beating up your elbows like endless pull ups can. You can do them under a table, on rings, or using a low bar.
Make it easier: bend knees and bring feet closer. Make it harder: straighten legs, elevate feet, pause at the top.
If you want step by step cues, use: how to train bodyweight rows.
5) Face pulls (band or rings)
Face pulls are one of the most underrated home exercises for shoulder comfort. They train rear delts and the muscles that keep your shoulders centered. I like higher reps with full control and a clear squeeze at the end.
Cue: pull toward the eyebrows, elbows high, and finish with your hands slightly outside your face.
6) Pull up holds and dead hangs
Isometrics are a simple way to build strength without needing more equipment. Top holds teach you to own the hardest part of the pull up. Dead hangs build grip and help you get comfortable under the bar.
- Top hold: chin over bar, 10 to 30 seconds
- Mid hold: elbows at 90 degrees, 8 to 20 seconds
- Dead hang: 20 to 60 seconds
7) Skill focused options: skin the cat and muscle up pathways
If your shoulders feel good and you have a safe setup, skill drills can make pull training more fun and build body awareness. Skin the cat is excellent for shoulder control, but it is also easy to overdo. Keep it clean and stop well before you lose tension.
Progressions here: how to train skin the cat.
For muscle ups, my honest take is that most people try too early. Build an explosive pull up and strong transitions first. If you want a beginner friendly breakdown, use: how to do a muscle up.
Two complete home pull workouts (beginner and intermediate)
Beginner home pull workout (30 to 40 minutes, no bar needed)
This is for you if you have zero pull ups right now, or you train in a small space. The goal is to build a base with rows and rear delts, then slowly introduce assisted vertical pulling when possible.
Rest: 60 to 90 seconds between sets. Keep 1 to 2 reps in reserve on most sets.
Table rows: 4 sets of 8 to 12 reps
Diagonal towel rows in a doorway: 3 sets of 8 to 12 reps per side
Rear delt floor flies: 3 sets of 10 to 15 reps
Band or towel face pulls: 3 sets of 12 to 20 reps
Dead hang substitute if no bar: prone “reverse snow angels”: 2 sets of 10 to 15 controlled reps
How to progress: first add reps, then slow the lowering phase to 3 seconds, then make your row angle more horizontal.
Intermediate home pull workout (45 to 60 minutes, with bar)
This session blends strength, volume, and a little bit of skill. It is the kind of workout I would do on a pull day when I want progress but also want my joints to feel good tomorrow.
Rest: 90 to 150 seconds on heavy sets, 60 to 90 seconds on accessories.
Skill primer: skin the cat or controlled transition drills, 3 to 5 sets of 1 to 3 reps
Main strength: pull ups or chin ups, 5 sets of 3 to 6 reps
Volume builder: inverted rows, 4 sets of 8 to 12 reps
Wide grip pull ups (optional): 3 sets of 4 to 8 reps, stop if shoulders dislike it
Face pulls: 3 sets of 15 to 25 reps
Isometrics finisher: top hold 2 sets of 10 to 25 seconds plus dead hang 1 set of 30 to 60 seconds
My opinion on order: doing rows after pull ups keeps your scap control honest. If you start with rows, you might fatigue the upper back and your pull ups turn into biceps only reps.
How to progress week to week without overthinking
Pick one main metric per block
Most plateaus at home come from changing everything at once. Keep your exercise list stable for 4 to 6 weeks and push one metric.
- Reps: add 1 rep per set until you reach the top of your range
- Tempo: use a 3 to 5 second lowering phase
- Pauses: 1 second pause at the top of rows and pull ups
- Less assistance: thinner band or less foot support
A simple pull up progression plan (example)
Here is a realistic path I have seen work again and again. It is not glamorous, but it is effective.
Weeks 1 to 2: 3 sessions per week of assisted pull ups, 4 sets of 5, plus rows
Weeks 3 to 4: mix assisted 3 sets of 5 with negatives 3 sets of 3 slow reps
Weeks 5 to 6: test singles, then back off to small sets, for example 6 to 10 sets of 1 to 2 clean reps across the week
If you want a deeper progression framework, this article is useful: how to increase your pull up numbers.
Common mistakes I see in home pull training
Too much vertical pulling, not enough rows
Pull ups are addictive. Rows are boring. But rows build the base that keeps your shoulders stable and your pull ups strong. If your elbows keep getting annoyed, the fix is often more rows and face pulls, not more pull ups.
Chasing “advanced” variations too early
Moves like behind the neck pull ups or aggressive kipping are not mandatory for progress. If your goal is strength and muscle, you get more return from strict reps, controlled negatives, and consistent volume. Advanced variations are only worth it when your basics are solid and your shoulders feel great.
Training to failure every session
Failure reps have a place, but making every set a grind usually slows progress. Leave a little in the tank. You will train more often, your technique stays clean, and your tendons will thank you.
How often to do a calisthenics home pull workout
Simple weekly schedule
For most beginners and intermediates, 2 pull sessions per week is the sweet spot. You recover, you can repeat good quality work, and you have room for push and legs. If you run a Push Pull Legs split, pull twice per week fits naturally.
- Option A: Pull, Push, Legs, rest, Pull, Push, rest
- Option B: Pull, rest, Push, rest, Legs, rest, Pull
When you should reduce volume
If your elbows feel tender when you grip a mug, or your forearms feel constantly tight, reduce pull up volume for a week and keep rows and face pulls. Small deloads keep you training long term, which is the real advantage of calisthenics.
Veelgestelde vragen
Do I need a pull up bar for a calisthenics home pull workout?
A pull up bar makes progress much easier, but you can still build a strong back with rows under a table, towel rows in a doorway, and rear delt work on the floor. If your goal includes pull ups, a bar is the most direct tool, even if you start with assistance.
What if I cannot do a single pull up yet?
Start with assisted pull ups and slow negatives, plus plenty of rows. Aim for 2 pull sessions per week and keep your reps clean. Track small wins like longer top holds or less band assistance. That steady approach is usually faster than random max attempts.
How many exercises should I include in a home pull session?
Most people do best with 4 to 6 exercises: one main vertical pull, one row variation, one accessory like face pulls, and one hold or finisher. More than that often turns into junk volume, especially if you train in a tight home schedule.
Can women build strength with a calisthenics home pull workout?
Yes, absolutely. Pull training responds well to smart progressions for everyone. The keys are consistent practice, enough horizontal pulling volume, and realistic progress steps such as assisted reps and negatives. Strength is very trainable when you keep the plan simple and repeatable.
Is it okay to train a calisthenics home pull workout on consecutive days?
Occasionally, yes, but it is usually not ideal if your sessions are hard. Most people improve faster with at least 48 hours between pull days so the elbows, forearms, and back can recover. If you must train back to back, make day two lighter and focus on rows and accessories.
A calisthenics home pull workout does not need to be complicated to be effective. Cover vertical pulls, horizontal rows, and a small amount of shoulder friendly accessory work, then progress one simple metric at a time. If you are a beginner, rows and assisted pull ups will build your base faster than endless failed attempts. If you are intermediate, combine strict pull ups with rows, holds, and just enough skill work to keep training fun. Stick with it for six weeks and you will feel the difference in strength, posture, and confidence on the bar.


