If you just bought a weight vest and you are wondering whether you should throw it on for walks, push ups, squats, or even runs, you are not the only one. A lot of people like the idea of training harder, but they are unsure how to use a weight vest safely without bothering their joints or ruining their form. In this guide, I will walk you through how to use a weighted vest in a practical way, how much weight to start with, which exercises make sense, and when a vest is actually a better choice than other weighted calisthenics equipment.
What Does a Weight Vest Actually Do for Your Training?
A weight vest adds resistance while keeping your hands free and the load close to your center of mass. That is the main reason it feels more natural than carrying dumbbells for many movements. If you are doing push ups, squats, step ups, dips, pull ups, or brisk walks, the extra load can make the same exercise more challenging without changing the movement too much.
In practice, this means a vest can help with strength training, improving work capacity, and making weighted vest bodyweight exercises more effective. It can also increase energy output, which is why people often ask, does a weighted vest burn more calories? In many cases, yes, it can. But it is not magic. The calorie bump is real, yet the bigger value usually comes from making simple training more demanding and more efficient.
From my experience in calisthenics, a vest is especially useful for people who have outgrown basic bodyweight work but are not ready to build a full barbell setup at home. It gives you a clean way to progress pull ups, dips, push ups, lunges, and even stair work. For skill work such as handstands, though, I would be more careful. If that is your focus, you are usually better off improving control first and checking a guide like best calisthenics handstand equipment instead of adding load too soon.
It is also worth being honest about the limits. A weighted vest can support a weight loss routine, but it will not replace good nutrition and consistent training. And while some people wear one for daily chores or long walks, that does not always give the same training benefit as structured sessions.
How to Fit a Weight Vest Correctly
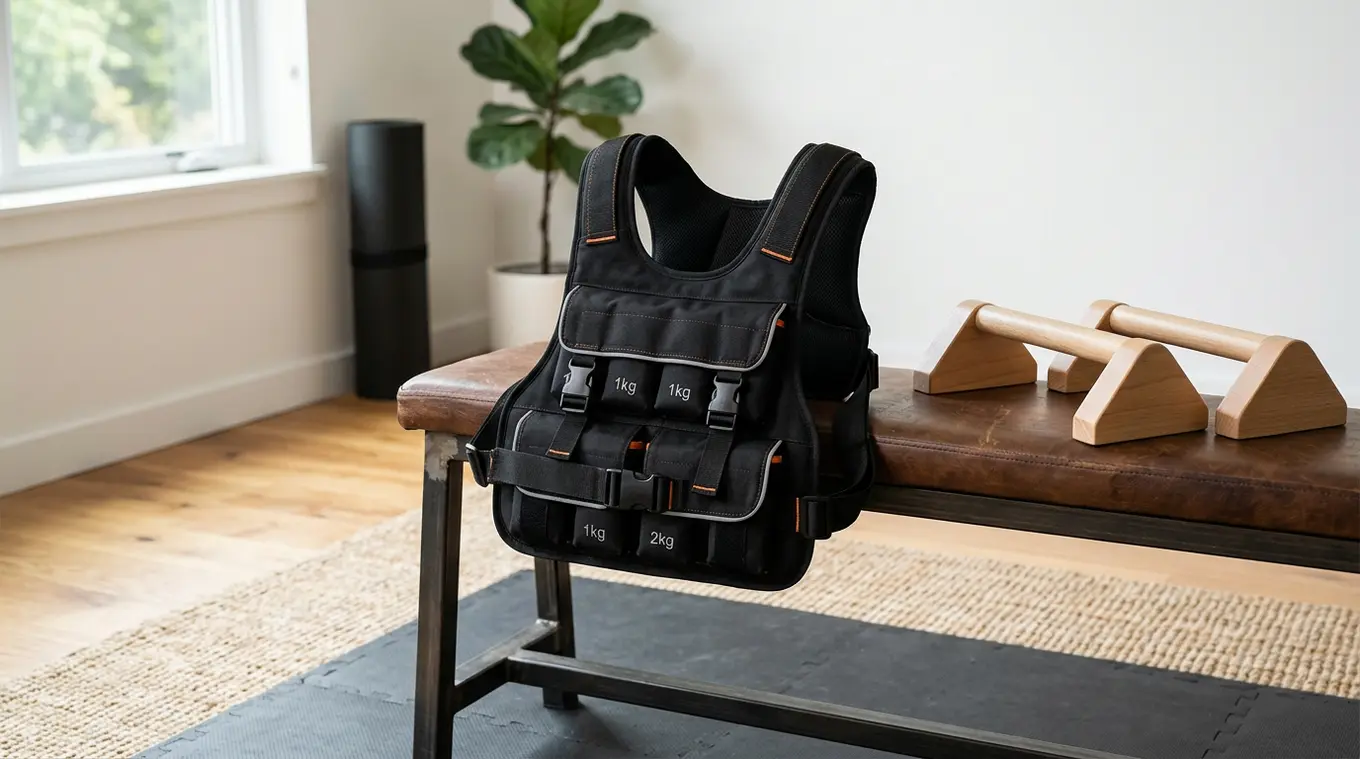
Fit matters more than most people think. A poorly fitted vest bounces, shifts your balance, and makes even easy movements feel awkward. A good vest should sit close to your torso, with the load distributed evenly front and back.
How Tight Should a Weight Vest Be?
It should feel snug, not restrictive. You want minimal movement when you walk, squat, or do push ups. If the vest slides up into your neck or swings during each rep, it is too loose. If you cannot breathe deeply or your shoulders feel pinched, it is too tight. The sweet spot is secure enough to stay in place while still letting you move naturally.
This is one reason adjustable models are usually the smarter choice. They let you fine tune both fit and load. If you are comparing options and want a model built for calisthenics style training, a Gornation weighted vest is worth a look, as the brand focuses on training-oriented design and adjustability.
What to Check Before Your First Workout
Before your first session, do a short test. Walk for a few minutes, perform a few bodyweight squats, do several push ups, and if relevant hang from a pull up bar. Check whether the vest shifts, rubs, or changes your mechanics. Your torso should stay stable and your normal movement pattern should still look clean.
If you are unsure about exercise form first, it helps to dial that in without load. A proper warm up is also important, especially for shoulders, knees, and ankles. If you need a simple prep routine, see how to warm up for calisthenics training.
How Much Weight Should You Start With?
The biggest mistake beginners make is starting too heavy because the vest itself does not look intimidating. The load may seem small on paper, but it adds up fast once you are moving through reps, stairs, or distance.
The 5% Bodyweight Rule for Beginners
A very solid starting point is around 5 percent of your body weight. If you weigh 160 pounds, start around 8 pounds. That is enough to feel a difference without turning every movement into a grind. For most people learning how to start training with a weighted vest, this is the safest and most sustainable place to begin.
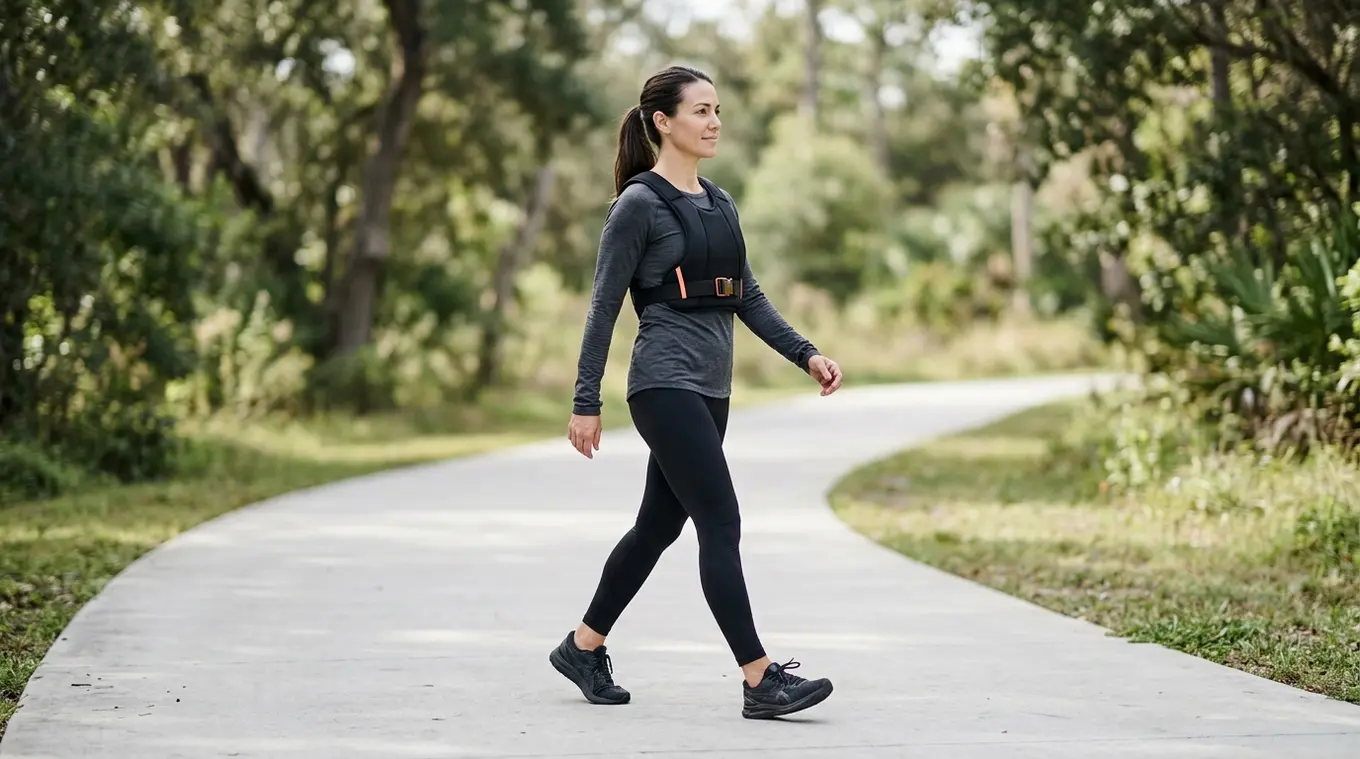
If you mainly want to learn how to use a weighted vest for walking, starting light matters even more. Walking looks simple, but adding load changes impact on your feet, knees, hips, and lower back. A light vest lets you adapt without beating yourself up.
When and How to Progressively Increase the Load
My advice is simple. Increase volume before weight. That means first build up more reps, more sets, or slightly longer sessions with a comfortable load. Only after that should you add more pounds. This approach works better than chasing weight too early and losing good form.
For example, if you are doing push ups with a vest, keep the same light load until your sets feel stable and controlled. Then increase the challenge gradually. The same goes for a weighted vest walking routine. First extend time or frequency, then add load. For many people, an increase from 5 percent to 8 or 10 percent of body weight is already a meaningful jump.
If your form changes, your pace drops sharply, or your joints start complaining, that is your sign to back off. That is not a setback. It is smart progression.
| Use case | Good starting point | How to progress | Watch out for |
|---|---|---|---|
| Walking | 5% body weight, 15 to 25 minutes, 1 to 2 times per week | Increase time or frequency first, then add weight | Knee, hip, foot, or lower back discomfort |
| Push ups | 5% body weight for controlled working sets | Add reps or sets first, then increase load | Loss of form or unstable torso position |
| Squats and lunges | Light load with full range of motion | Build volume before adding more pounds | Shifting mechanics or knee irritation |
| Pull ups and dips | Only if bodyweight reps are already clean | Keep load stable until reps stay smooth, then increase gradually | Shoulder discomfort or reduced control |
| Running | Not the best starting point for beginners | Master walking first before testing short runs | Higher impact and joint stress |
How to Add a Weight Vest to Your Existing Workouts
You do not need to redesign your whole plan. The easiest way to learn how to use a weight vest is to add it to exercises you already perform well.
Best Exercises to Use a Weight Vest For
The best options are usually controlled bodyweight basics. Push ups, air squats, split squats, lunges, step ups, calf raises, dips, pull ups, planks, and brisk walking all work well. These are some of the most useful weighted vest bodyweight exercises because the added resistance is straightforward and easy to track.
For calisthenics, I like a vest most for push ups, pull ups, dips, and squats. It is also great for stair climbing and hill walks. If your main interest is lower body work, you may also want to compare it with other squat focused tools in how to train weighted squats.
Running with a vest is possible, but I would not make that your starting point. The impact rises quickly, and beginners often confuse effort with effectiveness. Walking first is the smarter move.
How Long and How Often Should You Wear It?
For strength focused sessions, wear the vest only for the working sets that benefit from it. You do not need it on for the whole workout. For walking, start with 15 to 25 minutes once or twice a week. That is enough to test tolerance and build consistency. Over time, you can progress toward a more regular weighted vest walking routine if your joints feel good and your posture stays solid.
If your goal is general fitness, two or three vest sessions per week is plenty. If your goal is using a weighted vest for strength training, keep the work high quality and avoid turning every workout into a max effort session.
What Does a Beginner Weight Vest Routine Look Like?
If you are not sure how to structure your first few weeks, here is a simple framework to follow. You do not need a complicated plan. The goal early on is to get used to the added load without overdoing it.
Week 1 to 2: Use the vest at around 5 percent of your body weight. Pick two or three movements you already perform well, such as push ups, squats, and a short walk. Aim for two sessions that week. Keep the vest on only for working sets, not your warm up.
Week 3 to 4: If your form stays clean and your joints feel fine, add one more session or a few extra reps per set. Keep the weight the same. The focus here is building volume, not adding load.
After four weeks: If everything still feels controlled, you can consider a small weight increase or a slightly longer walk. If anything feels off, stay at your current level for another week or two before progressing.
This kind of gradual approach works for most people, whether your goal is strength, conditioning, or simply making daily movement more demanding. It also makes it much easier to spot what is working and what is not.
Common Mistakes to Avoid When Using a Weight Vest
The most common mistake is using too much weight too soon. The second is wearing the vest for exercises you do not actually control well yet. If your push ups are shaky without load, adding resistance will not clean them up. It will just expose weak positions faster.
Another mistake is using a vest for long runs because it feels hardcore. For most people, this creates more joint stress than useful training effect. The same goes for wearing it all day just because social media says more is better. More load is not always better load.
This also ties into the question, is using a weight vest safe? Usually yes, if your base movement quality is good and progression is sensible. But there are risks and side effects to respect, especially for people with back pain, knee pain, ankle issues, high blood pressure, or shoulder problems. If you fall into that group, get medical clearance first.
Finally, do not ignore vest fit. A bad fit changes mechanics, causes rubbing, and turns good training into annoying training fast.
Is a Weight Vest Right for You? And Which One Should You Get?
A weight vest is a strong option if you enjoy calisthenics, walking, bodyweight strength work, or simple home training and want progressive overload without a full gym setup. It is especially useful if you want one tool that can improve push ups, squats, pull ups, dips, and conditioning.
It may not be the best choice if you have joint issues, mainly want maximal lower body strength, or need very heavy loading. In those cases, dumbbells, barbells, or a dip belt may make more sense. If you are comparing options, a vest is usually more versatile for mixed training, while a dip belt often feels better for heavy pull ups and dips.
When thinking about how to choose a weighted vest, focus on three things: adjustable load, secure fit, and comfort during movement. For walking, the best weighted vest for walking is not necessarily the heaviest one. It is the one that stays stable, feels comfortable, and lets you maintain natural posture. For calisthenics, I would choose an adjustable model with solid construction and a close fit. Gornation is a brand worth considering here, as it is designed with bodyweight athletes in mind and keeps the build practical and adjustable.
If you are still building your home setup, a vest pairs well with a pull up bar, dip station, or rings. If you want ideas beyond the vest itself, take a look at what weighted calisthenics equipment to use.
If you want the short answer to how to use a weight vest, it is this: start light, make sure the fit is snug, use it on movements you already control well, and progress slowly. For most people, walking, push ups, squats, pull ups, and dips are the best place to begin. A vest can help you burn a few more calories, build more strength with bodyweight basics, and make simple workouts more effective. Just do not rush the load. Used well, a weight vest is one of the most practical tools you can add to a calisthenics routine.
Frequently Asked Questions
Can I use a weight vest every day?
You can, but most people do better with two to four focused sessions per week. Daily use can be too much if your joints are not adapting well. For walking, light and short sessions are usually fine, but for strength work, recovery still matters.
Does a weighted vest burn more calories than regular walking?
Yes, in most cases it does. The extra load increases the effort of each step, so your body uses more energy. Still, the difference is not large enough to replace good nutrition or consistent training. Think of it as a useful boost, not a shortcut.
What is the best weight vest percentage for beginners?
A good starting point is about 5 percent of your body weight. That is heavy enough to notice, but usually light enough to keep your mechanics clean. Once that feels comfortable for several workouts, you can slowly increase volume or load.
Is using a weight vest safe for walking?
For most healthy adults, yes, if the load is light and the vest fits well. Start with short walks, keep your posture natural, and stop if you notice knee, hip, back, or foot pain. If you have existing medical or joint issues, ask a professional first.
Should I get a weighted vest or a dip belt for calisthenics?
It depends on your goal. A weighted vest is more versatile for push ups, squats, walking, and full body training. A dip belt is often better for very heavy pull ups and dips. If you want one tool for general bodyweight progression, a vest is usually the easier starting choice.