
Ring dips look simple until you try them and the rings start wobbling like shopping cart wheels. If you want to learn them without beating up your shoulders, you need a smart progression, not random attempts and hope. In this guide I’ll show you the exact steps I use with beginners and intermediates: how to set the rings, how to build a rock solid support hold, which drills actually transfer to full reps, and when to add assistance or intensity. You’ll also get a practical weekly plan, form cues that matter, and the most common mistakes to avoid.
What makes ring dips different (and why that matters)
On parallel bars, the handles stay where they are. On rings, your hands can drift in, out, and forward, and your shoulders have to manage that instability. That extra demand is the whole point, but it also means you need to respect the learning curve.
Strength plus control, not just pushing power
Ring dips are mostly chest, triceps, and shoulders, but the limiting factor is often stability at the top and control at the bottom. If you skip those pieces, you’ll feel “strong” on the way down and suddenly helpless near depth.
My baseline requirement before you start
Before serious ring dip work, I want you to have at least 5 clean bar dips (or stable dip station dips) with a controlled descent and a locked out top. If you don’t have that yet, build it first. Here’s a solid guide on the standard dip: how to do a bodyweight dip.
Ring setup and the safest starting position
Most ring dip frustration comes from bad setup. Fix the setup and half the battle is won.
Set the ring height for smart practice
For learning, don’t hang the rings too high. You want a “safety net” so your feet can touch the floor or a box if you lose control near the bottom. That lets you train hard without turning every rep into a scary gamble.
Ring width and grip
Start with the rings at about shoulder width. Use a full grip and squeeze hard. A lazy grip makes the rings rotate and pulls your shoulders into messy positions.
Support hold: your real first rep
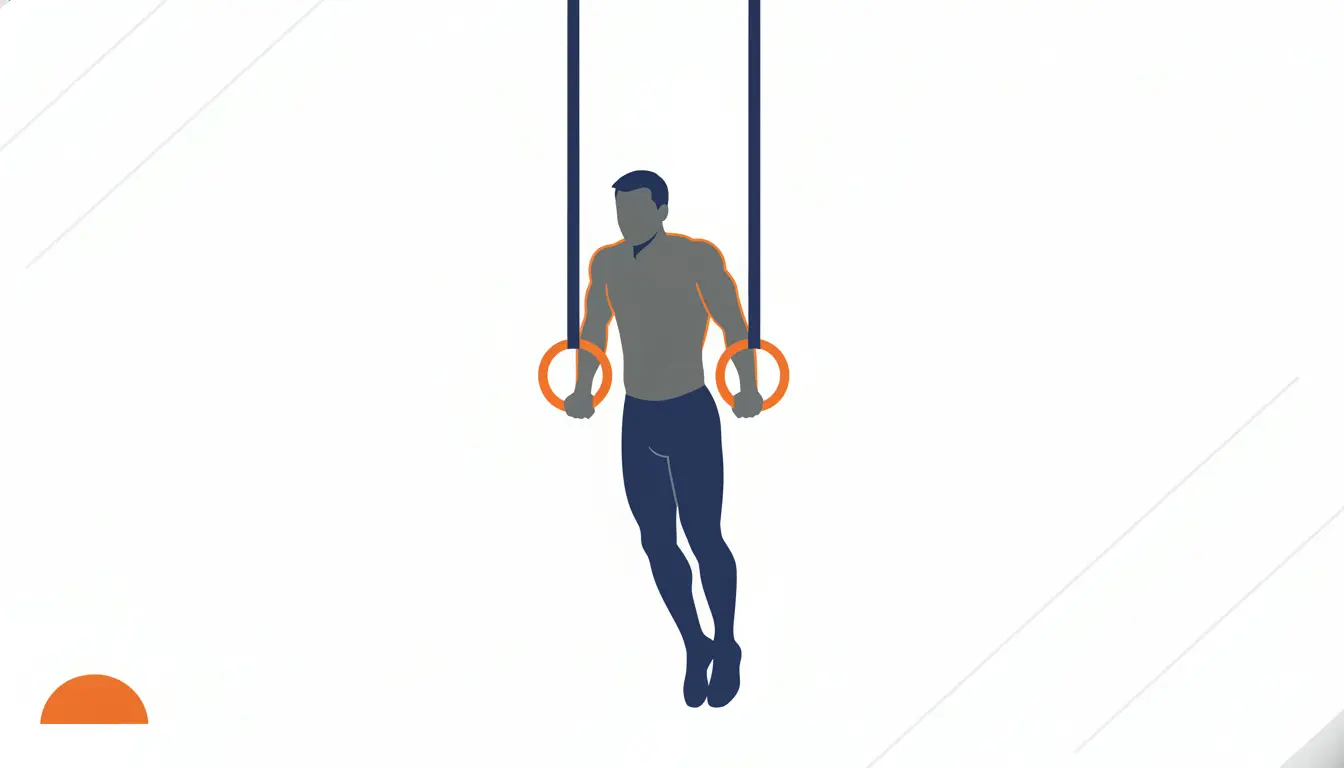
The top position is not a break, it’s a skill. Get above the rings with elbows straight, body tight, and rings close to your hips.
- Lockout your elbows and keep your ribs down
- Hold a slight hollow body (think “zip up” your abs)
- Turn the rings slightly out via external rotation (elbow creases facing forward)
- Keep the rings quiet, no shaking contest
If you can’t hold a stable support for 15 to 30 seconds, full dips are usually premature. Build the hold first and your dip will feel a lot less chaotic.
The ring dip progression (step by step)
This is the progression I trust because every step teaches a specific missing piece. Move on only when the current step feels controlled, not merely survivable.
Step 1: Bottom support hold (learn the “danger zone”)
Many athletes fear the bottom because it’s unstable and demands strong shoulders. So we train it directly.
- Set rings low enough that your feet can assist if needed
- Lower into the bottom position you can control comfortably
- Hold with shoulders slightly forward, rings close, chest open
- Use your feet lightly if you must, but aim to reduce help over time
A good target is 4 sets of 10 to 15 seconds with steady rings. When this is solid, negatives and full reps become much safer.
Step 2: Ring support holds (top position mastery)
Yes, we already introduced the support hold, but here it becomes structured training. Treat it like you’d treat a plank: short, high quality holds done often.
Work up to 4 to 6 total holds of 15 to 30 seconds. Stop the set when your shoulders shrug up or the rings start drifting wide.
Step 3: Slow negatives (the fastest way to build strength where you’re weak)
Negatives build strength and teach control through the entire range. Start in a stable support hold, then lower slowly to your deepest controlled position. Step down with your feet to finish.
- Aim for 3 to 5 seconds down per rep
- Do not “half control” and then drop into the bottom
- Keep hands close and rings near your body
- Depth goal is below parallel, but only if it stays smooth
I like 3 to 5 sets of 3 to 5 negatives. It’s enough to progress without turning your shoulders into mush.
Step 4: Heel assisted ring dips (build full reps without cheating the pattern)
This is one of the most underrated drills. Put a box a bit in front of you, get into support, and place your heels on the box. Now you can practice the full motion while keeping the rings honest.
Progress it like this: both heels on box, then one heel, then toes only on the edge. Keep the dip path the same every time.
Step 5: Partial range ring dips (own the top half first)
Partial reps are useful when you’re strong at lockout but shaky near depth. Start at the top, lower only a few inches, press back up, and gradually increase the range.
The rule is simple: you earn range by keeping control. If the rings flare out or your shoulders collapse forward, reduce depth and rebuild.
Step 6: Assisted ring dips (bands, but used intelligently)
I’m not anti band, I’m anti “band as a lifelong crutch.” Bands can help you accumulate quality reps once you already have decent positions.
Use a band when you can hold support and perform controlled negatives, but you lack the press strength out of the bottom. Keep the band assistance minimal enough that you still have to stabilize the rings.
Step 7: Full strict ring dips
Your first strict reps should look almost boring: steady rings, smooth descent, and a confident lockout. If you’re shaking wildly, you’re not “close,” you’re practicing chaos. Go back one step and own it.
How to do a strict ring dip with clean form
Here are the cues that matter. I’m keeping them simple on purpose, because you’ll actually remember them mid set.
Descent: controlled and close
Start from a stable support hold. Inhale, brace your midsection, and descend by bending the elbows while keeping the rings close to your sides. Your chest can lean slightly forward, but don’t let your shoulders dump forward and down.
Think: elbows back, rings close, body tight. The bottom position should feel strong, not like your joints are hanging.
Press: drive down, then lock in
Press back up by pushing the rings down and slightly out, finishing with straight elbows and quiet rings. I like a tiny pause at the top to “own” the rep.
If you regularly miss lockout, you’re basically training half reps and half stability. That’s a fast way to stall.
Common mistakes (and quick fixes)
Most ring dip problems are predictable. Fix these and progress gets much smoother.
Mistake 1: Rings drifting far away from your body
If the rings flare out, your shoulders take a beating and your strength disappears. Fix it by narrowing the rings slightly, practicing support holds with rings turned out, and using heel assisted dips to groove the close path.
Mistake 2: “Chicken neck” shoulders at the top
If your shoulders shrug up toward your ears, you lose stability. Reset with a taller chest, ribs down, and a firm lockout. Shorter sets help. I’d rather see 5 clean seconds than 20 messy ones.
Mistake 3: Dropping into the bottom to hit depth
Depth only counts if you can control it. Use negatives and bottom holds until you can reach below parallel without collapsing. Your shoulders will thank you.
Mistake 4: Overusing kipping too early
Kipping ring dips can be useful in some CrossFit contexts, but they add speed and force where you’re already least stable. If you can’t do several strict reps comfortably, kipping is not the next step.
Programming: how often to train ring dips for steady progress
For most people, 2 to 3 sessions per week works best. More often can be fine if the volume is low and form stays crisp.
A simple 3 day weekly template
This is a practical setup that keeps you progressing without frying your shoulders.
- Day 1: Skill and control (support holds, bottom holds, slow negatives)
- Day 2: Strength (heel assisted dips or partial dips, plus a few negatives)
- Day 3: Volume (assisted dips or full dips at low reps, perfect form)
Keep most sets in the 3 to 6 rep range for dips and 10 to 30 seconds for holds. Stop 1 to 2 reps before failure while you’re learning. Ring dips punish sloppy fatigue.
Progress rules I actually use
- Add reps only when the rings stay quiet
- Add depth only when the bottom stays controlled
- Add sets before you add difficulty
- If your shoulders feel “pinchy,” step back a progression for a week
If you want to pair ring dips with other skills, keep the overall push volume reasonable. For example, training an L sit can complement your hollow body strength and top support control. This guide is helpful: how to train the L-sit.
Warm up and prep that makes ring dips feel better
I’m not a fan of long warm ups, but for ring dips you do need to show your shoulders what’s coming.
5 to 8 minutes, done
- Easy scapular push ups or incline push ups with external rotation intent
- Support hold practice: 3 short holds of 8 to 12 seconds
- 2 to 3 slow negative reps as a “pattern reminder”
- One easy set of your main drill before working sets
If you want a broader framework, this warm up guide is a good reference: how to warm up for calisthenics training.
Equipment that helps (only what’s worth it)
You don’t need much, but the right basics remove friction and make practice consistent.
Gymnastic rings you actually want to use
Stable straps, comfortable ring texture, and clear length markings matter more than people think. If you’re buying one set to last, the GORNATION wooden rings are a sensible choice: wood feels secure in the hands and encourages a confident grip, which directly affects control on dips.
Liquid chalk for consistent grip
If your hands slip, everything else falls apart. I’m a fan of using chalk sparingly, especially for higher rep sets or humid gyms. GORNATION liquid chalk is convenient because it’s less messy than block chalk and still gives you the dry grip you need for stable support holds and controlled negatives.
When to start kipping ring dips (and when not to)
If your goal includes CrossFit style workouts, you may eventually want kipping dips. But strict strength is the entry ticket.
Minimum standard before kipping
I’d want you to hit multiple strict reps with consistent depth and lockout, and be able to hold a stable support without shaking. If strict reps are still a grind, adding speed is just adding risk.
Timing basics, kept simple
Kipping relies on coordinated body tension and a quick knee and hip action that helps you rise out of the bottom, then your arms finish the lockout. Even when you kip, keep the rep honest: full depth and full lockout.
How ring dips fit into bigger goals (muscle ups and strength)
Ring dips are a foundation for ring muscle ups because they teach you to stay strong and stable in the exact position where many muscle up attempts fail: the transition and the deep press out.
If you’re aiming for muscle ups, keep building strict pull strength alongside dips. This guide can help you map that next step: how to do a muscle up (beginner friendly guide).
Veelgestelde vragen
How to train ring dips if I can’t do a single rep yet?
Start with ring support holds, bottom holds with light foot assistance, and slow negatives. Those three drills build the stability and bottom strength that usually block the first rep. Train them 2 to 3 times per week, keep the rings low for safety, and progress only when you can control shaking.
Should I use a resistance band for How to train ring dips?
A band can help you practice full range reps, but I wouldn’t start with it on day one. First learn stable support holds and controlled negatives. Then use a light band to accumulate clean reps without losing the close ring path. Reduce assistance over time so the band doesn’t become your default.
How deep should ring dips be?
A good standard is below parallel, meaning your shoulders descend below your elbows, as long as you can stay controlled and pain free. If you have to drop into the bottom to reach depth, shorten the range for now and build it back with negatives and bottom position holds.
Why do the rings turn out and shake so much?
Shaking usually means your support position isn’t locked in yet. Focus on external rotation, straight elbows, and keeping the rings close to your hips. Short, high quality support holds done frequently work better than long shaky attempts. Grip also matters: squeeze the rings and keep wrists neutral.
When can I move from strict to kipping ring dips?
Only after you can do several strict ring dips with consistent depth and a clean lockout every rep. Kipping adds speed and force right where the dip is most unstable. If strict reps still feel like a fight or your lockout is inconsistent, stick to strict work and build capacity first.
If you want ring dips to feel strong and stable, earn them in the right order: master the support hold, build control with bottom holds and slow negatives, then use heel assistance or smart band work to accumulate quality reps. Train them 2 to 3 times per week, keep the rings low while learning, and never trade position for ego depth. Do that consistently and strict ring dips stop being a scary skill and become a reliable strength builder you can progress for years.


