
If pull ups feel impossible right now, you’re in the right place. Assisted pull ups let you practice the real movement while making it manageable, so you can build strength without turning every rep into a struggle. In this guide I’ll show you exactly how to do assisted pull ups with a machine and with resistance bands, what good form actually feels like, and how to choose the right level of help. We’ll also cover common mistakes, a simple progression plan, and how to transition to your first unassisted pull up.
What assisted pull ups are and why they work
The goal is skill plus strength
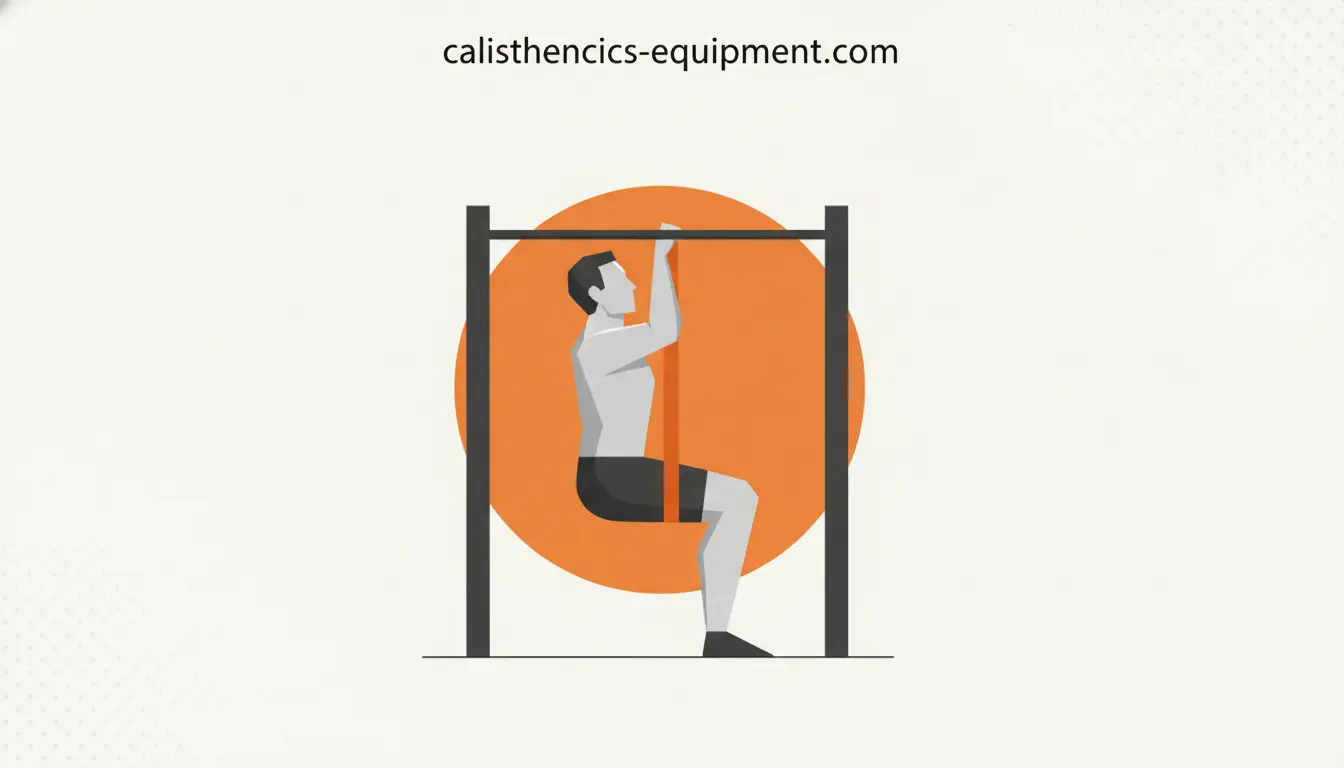
An assisted pull up is the same pattern as a regular pull up, but with some of your bodyweight reduced. That reduction lets you train the full movement with solid technique, enough reps, and controlled lowering. In my experience, this is what makes assisted pull ups such a reliable path to your first strict rep: you get practice in the exact positions that matter.
Done well, assisted pull ups build your lats, upper back, biceps, forearms, and the habit of keeping your core tight while hanging. Done poorly, they become a way to “cheat” reps that don’t transfer.
Who should use assisted pull ups
You should use assisted pull ups if you can’t do a clean pull up yet, or if you can do a few but your form breaks down quickly. They’re also useful when you want more volume for technique without frying your elbows and shoulders.
Quick setup checklist (before your first rep)
Find a bar that feels stable
Assistance helps your strength, but it doesn’t fix a shaky setup. If you train at home, choosing a solid bar matters for confidence and safety. If you’re unsure what to buy or what fits your space, this comparison helps: doorway vs wall mounted pull up bar.
Warm up in 4 minutes
Keep it simple and repeatable. I like a short warm up that prepares your shoulders, elbows, and grip without wasting time.
- 30 to 60 seconds easy dead hang (can be broken into sets)
- 10 scapular pull ups (small shoulder blade reps)
- 10 to 15 band pull aparts or face pulls (light)
- 5 to 8 slow negatives from a step, only if pain free
How to do band assisted pull ups (step by step)
Choosing the band (the part most people get wrong)
The band should give you enough help to do clean reps, not just survive them. A good target is 5 to 10 reps where the last 2 reps are challenging but still controlled. If you’re shaking and kipping on rep 3, the band is too light. If you could do 15 perfect reps, it’s probably too strong.
If you need bands that won’t snap, roll, or feel unpredictable, I think the Gornation resistance bands are a sensible option because the tension range is consistent and the sizes cover most strength levels without needing a huge set.
Setup and body position
- Loop the band over the bar and pull it through itself to create a secure knot.
- Place one foot in the band for less assistance, or both feet for more. Knees in the band works too, but feet usually feel more stable.
- Grab the bar slightly wider than shoulder width with an overhand grip.
- Start in a dead hang with straight arms, ribs down, and legs slightly in front of you.
The rep: what to do from bottom to top
Step 1: Set your shoulders. Before bending your elbows, pull your shoulders down and back slightly, like you’re putting them in your back pockets. This is subtle, but it makes the rep feel strong instead of “arm heavy.”
Step 2: Pull elbows down. Think about driving your elbows toward your hips. Your chin coming above the bar is the result, not the cue.
Step 3: Brief pause. Hold the top for half a second without craning your neck.
Step 4: Slow descent. Lower for 3 to 5 seconds to full arm extension. The lowering is where strength builds fast, and it’s also where most people get lazy.
Band specific tips that improve transfer
- Keep your legs quiet. If the band is bouncing, your technique is leaking.
- Expect more help at the bottom and less at the top. That’s normal band behavior.
- If the band pulls your feet backward, lightly squeeze your glutes and keep a small hollow body shape.
How to do machine assisted pull ups (step by step)
How to choose the assistance weight
On most assisted pull up machines, more weight on the stack means more assistance, so the exercise becomes easier. Your goal is the same as with bands: pick a setting that lets you hit 6 to 12 controlled reps with a real effort, not a free ride.
A practical rule: choose assistance that allows 8 good reps. If you can’t reach 6, add assistance. If you can do 12 easily, reduce it next set.
Safe setup on the machine
- Set the pin first, then step onto the platform carefully.
- Grab the handles and place your knees on the pad only when you feel stable.
- Start with arms straight, shoulders down, and your torso tall.
The rep: clean machine form
Pull up by driving your elbows down and keeping your chest “proud” without over arching your lower back. Aim to get your chin over the handle level, then lower slowly to full extension. I like a 2 second pull and a 3 second lower for most beginners because it forces control without turning every set into a cardio test.
One honest downside of machines is that they can reduce how much you need to stabilize your body compared to a free hang. That doesn’t make them useless, it just means you should still train dead hangs and controlled negatives alongside them.
3 other assistance options (when bands or machines aren’t available)
Chair assisted pull ups
Place a box or chair under the bar. Use one foot to give minimal help, like a dimmer switch, not a jump. Try to keep the foot pressure light and consistent so your upper body still does the work.
Partner assisted pull ups
A partner can give a small push at your upper back or hips during the hard part of the rep. This works best when the partner helps only as much as needed to keep the rep smooth.
Negatives (the fastest “strength builder” if you respect them)
Start at the top using a step, then lower for 5 to 10 seconds. Negatives are effective, but they can beat up elbows if you spam them. I’d rather see 3 perfect negatives than 10 ugly drops.
Form cues that fix 80% of problems
What a good rep looks like
- Start from a true dead hang with straight arms
- Shoulders stay down, not shrugged into your ears
- Body stays fairly still, no big swing
- Chin clears the bar without neck strain
- Full control on the way down
Common mistakes and quick fixes
Mistake: Using momentum. If your hips kick or legs swing, you’re practicing a different skill. Fix it by tightening your core, pausing one second at the bottom, and slowing the descent.
Mistake: Half reps. Stopping short at the bottom feels safer but it slows progress. Fix it by lowering to full extension and owning the last 10% of the range.
Mistake: Neck and chin reaching. If your neck is doing the work, your back isn’t. Fix it by focusing on elbows down and chest to bar.
Mistake: Too much assistance. If the band or machine does most of the rep, strength gains stall. Fix it by reducing assistance until reps feel like work but remain clean.
Progressing to unassisted pull ups (simple and realistic)
The progression rule I actually use
When you can do 3 sets of 8 assisted pull ups with consistent form and a controlled 3 second descent, you’re ready to reduce assistance. Not because of ego, but because your body is already showing it can handle productive volume.
A 12 week plan you can follow
Train pull ups 2 to 3 times per week with at least one rest day between sessions.
- Weeks 1 to 3: 5 reps for 3 to 5 sets (same assistance). Add sets before you add reps.
- Week 4: Slight deload. Do 3 sets, aim for 6 reps with perfect control.
- Weeks 5 to 7: Reduce assistance a small step. Return to 5 reps for 3 to 5 sets.
- Week 8: Deload again. Keep the new assistance, cut volume.
- Weeks 9 to 12: Mix two days of assisted volume with one day of negatives plus dead hangs.
If you’re using a machine, reduce assistance by a small amount when you hit the target. If you’re using bands, move to a slightly lighter band or switch from two feet to one foot in the band.
Test your first strict pull up the smart way
Don’t “try one” every workout from day one. Test once every 2 to 3 weeks: warm up, do one strict attempt, then go back to assisted sets. That way you build strength without turning training into constant maxing out.
How to program assisted pull ups in a workout
Beginner template (30 to 40 minutes)
This is a straightforward structure that builds your pull up without burying you in accessories.
- Assisted pull ups: 4 sets of 6 to 10 reps
- Bodyweight rows: 3 sets of 8 to 12 reps
- Push ups or dips: 3 sets of 8 to 15 reps
- Dead hangs: 3 sets of 20 to 40 seconds
If you want extra guidance on strict pull up mechanics, this article complements what you’re practicing here: how to do a pull up with perfect form.
Intermediate template (when you have 1 to 3 strict reps)
Once you have a few unassisted reps, assisted work becomes a volume tool.
- Unassisted pull ups: 5 to 10 total reps across sets
- Assisted pull ups: 3 sets of 8 to 12 reps (lighter assistance than before)
- Negatives: 2 to 3 reps with a 5 to 8 second descent
Grip and comfort: small gear that actually helps
When gloves make sense
If your hands tear easily, you might avoid pull ups altogether, which is the worst outcome. I’m not a fan of over complicating things, but a basic pair of gloves can make training consistent. If you’re curious what to look for, this guide is useful: best calisthenics gloves.
Optional but valuable: better grip on the bar
If you train outside or on slick bars, a bit of grip support can make your reps cleaner because you’re not constantly readjusting. I like Gornation liquid chalk as a simple upgrade that keeps your grip stable without needing tape every session. Use it sparingly and focus on technique first.
Veelgestelde vragen
How to do assisted pull-ups with the right amount of assistance?
Pick assistance that lets you do 6 to 12 reps with good form and a controlled descent. If you can’t reach 6, add more help. If you can do 12 easily, reduce assistance next set. The sweet spot feels challenging but repeatable, not like a max effort on every rep.
How to do assisted pull-ups without swinging?
Start from a still dead hang, tighten your core, and keep your legs slightly in front of you. Pause for one second at the bottom of each rep and slow the lowering to 3 to 5 seconds. If you’re using a band, minimize bounce by keeping steady foot pressure and avoiding knee tucks.
Are machine assisted pull ups as good as band assisted pull ups?
Both work. Machines are great for consistent, adjustable assistance and higher rep practice. Bands feel closer to a free hang and challenge stability more, but assistance changes through the rep. If you have access to both, I’d use the machine for clean volume and bands for skill and control.
Do assisted pull ups build muscle?
Yes, assisted pull ups can build muscle as long as you’re still working hard. Aim for sets that end with 1 to 3 reps in reserve and keep your technique strict. If the assistance is so high that you barely feel your back working, reduce it. The stimulus comes from tension, not the label.
When should I switch from assisted to unassisted pull ups?
Switch gradually when you can do 3 sets of 8 assisted pull ups with minimal assistance and a controlled 3 second descent. Start your workout with one or two unassisted attempts, then finish your volume with assisted reps. This keeps progress steady while your joints adapt.
Assisted pull ups are the most practical way to learn pull ups because you can train the real movement with quality reps. Keep the setup stable, choose assistance that challenges you for 6 to 12 controlled reps, and prioritize a slow descent. Reduce assistance only when your form stays clean. Stick to that, and your first unassisted pull up stops being a mystery and becomes a predictable milestone.


