
Bodyweight rows look simple, but they’re one of the fastest ways to build real pulling strength and better posture without needing heavy weights. If pull ups still feel far away, rows are usually the missing step. In this guide, I’ll show you how to train bodyweight rows with clean form, smart progressions, and a few programming options that actually fit into a normal week. You’ll also learn how to set them up at home, what to do if your shoulders or grip get annoyed, and how to keep improving once 3 sets of 10 feels easy.
What bodyweight rows are and why they matter
Rows are the “push up balance” most people forget
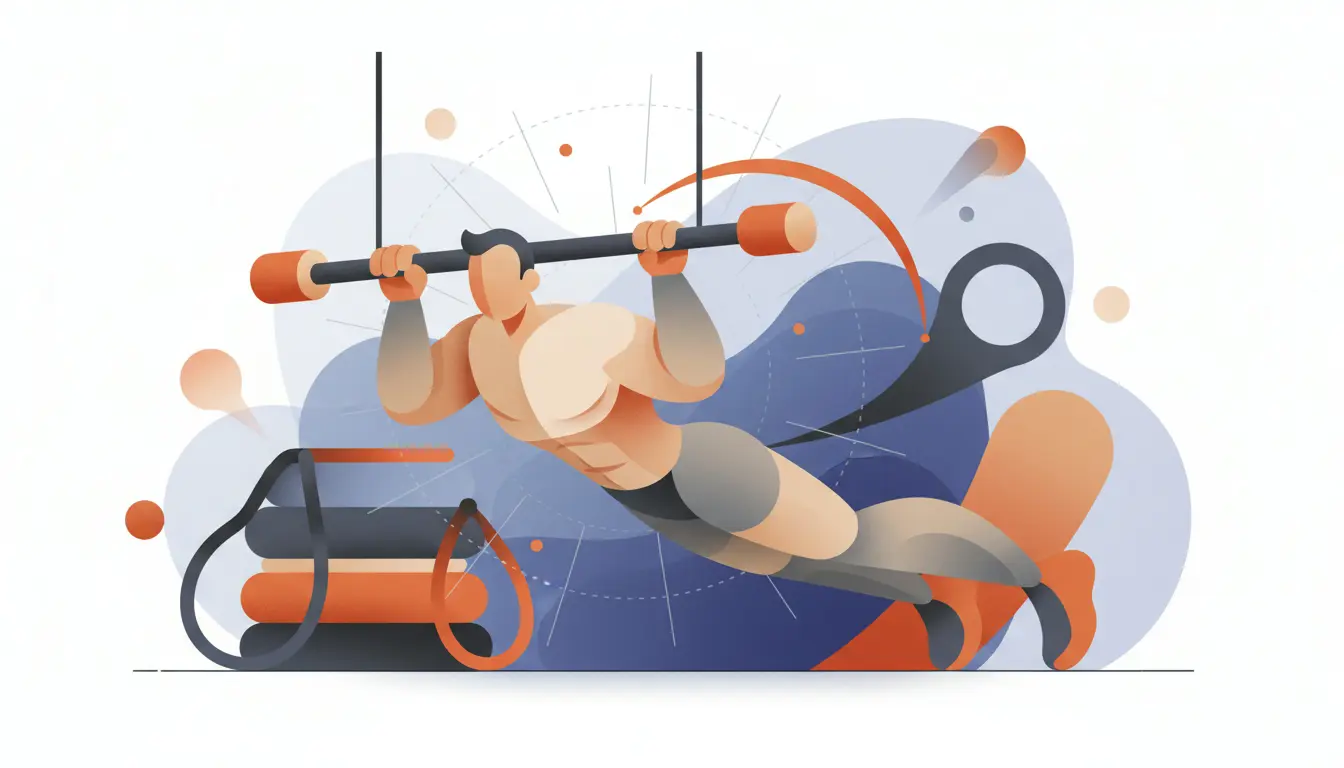
A bodyweight row (also called an inverted row or Australian row) is a horizontal pulling movement where you keep your body rigid and pull your chest toward a bar, rings, or handles. If you do lots of push ups or bench work, rows help keep your shoulders feeling “centered” instead of drifting forward over time. I’m a big fan of this exercise because it trains the upper back without the lower back fatigue you can get from sloppy barbell rows.
Done well, rows build strength in your lats, mid back, rear delts, and biceps, plus a surprising amount of core tension. That combination is exactly why rows carry over so well to pull ups: you learn to pull with your back while keeping your ribs down and your body controlled.
What muscles you should feel (and what you should not)
You should mainly feel rows in the middle of your back and around the shoulder blades, with biceps helping. If you only feel your arms and nothing in your back, it’s usually a setup or tempo issue, not a strength issue.
You should not feel sharp pinching in the front of the shoulder. Mild muscular work is fine, but if the shoulder feels “jammed,” switch to a neutral grip (rings) and shorten the range of motion for a while while you clean up your scapular control.
How to do a bodyweight row with solid form
Setup: pick a height you can control
Set a bar, Smith machine, or rings around hip to waist height. Higher is easier because your body angle is more upright. Lower is harder because you’re closer to horizontal and moving more of your bodyweight.
Lie under the bar, grab it slightly wider than shoulder width, and place your heels on the floor. Start with knees slightly bent if you’re learning. Before you pull, lock in a straight line from shoulders to knees or heels.
Execution: the cues that fix 90% of mistakes
Here’s the simple checklist I use when coaching rows:
- Body like a plank: squeeze glutes and keep your ribs down so your hips don’t sag.
- Shoulders down: think “long neck,” no shrugging.
- Elbows drive back: pull your elbows behind you, not out to the sides.
- Touch mid chest: aim for the lower chest or sternum area, not the throat.
- Control the way down: a slow lower builds strength and keeps shoulders happy.
At the top, pause for a brief moment and squeeze your shoulder blades together without overextending your lower back. Then lower until your arms are straight again. Full range of motion matters here, as long as it stays controlled.
Breathing and tempo
Keep it simple: inhale on the way down, exhale as you pull up. If you’re rushing reps, use a calm tempo like 1 second up, 1 second squeeze, 2 seconds down. Rows respond really well to clean, repeatable reps.
Common mistakes (and quick fixes)
Hips sagging or “banana body”
This is the classic. It turns the row into a half rep and can irritate the lower back. Fix it by bending the knees a little, bringing your feet closer, and actively squeezing glutes. I often tell people to imagine they’re doing a reverse plank the whole set.
Pulling with arms only
If your biceps burn but your back feels asleep, start each rep by setting the shoulders: pull the shoulder blades slightly down and back before you bend the elbows. Also keep your elbows at about a 30 to 45 degree angle from your body, not flared wide.
Half reps and rushed eccentrics
Rows get dramatically more effective when you own the bottom position with straight arms and a stable shoulder. If you can’t control the last 10 to 20% of the lowering phase, the progression is too hard right now. Raise the bar or use bent knees until the full range is clean.
Progressions and regressions that actually work
Make it easier: earn perfect reps first
In my experience, beginners progress faster by making rows easier and cleaner rather than grinding ugly reps. Try these regressions:
- Higher bar or higher rings: more upright body angle.
- Bent knees with feet flat: less load and easier bracing.
- Short pause at the top even on easier versions to learn the squeeze.
- Neutral grip on rings: often friendlier on the shoulders.
If you’re training at home and your setup is limited, rings are the easiest way to fine tune difficulty because you can adjust the height quickly.
Make it harder: change leverage before adding load
Once you can hit controlled sets of 10 to 15, it’s time to make the movement heavier. My preferred order:
- Lower the bar or move your feet further forward to get more horizontal.
- Straight legs if you were using bent knees.
- Feet elevated on a box or bench for a decline row.
- Tempo: add a 2 second pause at the top or slow 3 to 4 seconds down.
- Hard variations: archer rows or mixed grip ring rows.
Weighted rows can work, but I’d only add weight once your body line is rock solid. Otherwise you just load bad positions.
Grip options and what they change
Grip is an underrated lever:
- Overhand: great general back development and carries over well to pull ups.
- Neutral (rings/handles): usually the most comfortable on wrists and shoulders.
- Underhand: more biceps, but can tempt you to curl the movement.
If your elbows get cranky, neutral grip and slightly tucked elbows are usually the quickest win.
Equipment and setups: gym, park, and home
Best setups (stable and easy to scale)
You can do bodyweight rows on a barbell in a rack, a Smith machine, a low pull up bar, or rings. For most people, rings are the most versatile because you can rotate your grip naturally and adjust the difficulty in seconds.
If you’re building a minimalist setup, I think a solid set of rings is genuinely hard to beat. If you want a reliable option, the Gornation rings are a sensible pick because they’re designed for calisthenics use and make neutral grip rows effortless to set up. For a deeper comparison, see best rings for calisthenics.
Home options (without sketchy improvisation)
You can row under a sturdy table edge, or use straps with a door anchor if it’s rated and used correctly. I’m not a fan of “hope this holds” setups. Rows put a lot of horizontal force into whatever you’re holding, so test stability before you commit your bodyweight.
If your grip becomes the limiting factor before your back does, liquid chalk can help, but it’s optional. Most of the time, cleaning up your hand position and using rings solves it.
How to program bodyweight rows for strength and size
Simple weekly frequency that works
For beginners and intermediates, rows fit well 2 to 3 times per week. Leave at least a day between hard pulling sessions so your elbows and upper back recover. I’d rather see you do fewer sessions with crisp reps than more sessions with irritated joints.
Sets and reps: my practical guidelines
Use these targets depending on your goal:
- Technique and base strength: 3 to 4 sets of 6 to 10 reps, stop 1 to 2 reps before failure.
- Muscle and work capacity: 3 to 5 sets of 8 to 15 reps, last reps should be tough but controlled.
- Pull up preparation: 4 sets of 6 to 12 with a 1 second pause at the top.
A good rule: if your body line breaks, the set is over. Rows reward discipline.
Example: two straightforward ways to include rows
Option A: full body, three days per week
- Day 1: push ups, bodyweight rows, squat pattern, plank
- Day 2: dips or pike push ups, bodyweight rows, hinge pattern, hollow hold
- Day 3: push ups, bodyweight rows, lunges, side plank
Option B: push pull split, four days per week
- Pull days: bodyweight rows first, then pull up progressions, then biceps or rear delt accessories
- Push days: push ups or dips, then overhead work, then triceps
Keep the push and pull volume reasonably balanced. If you do a lot of pressing, add rows. Your shoulders will usually thank you.
How to keep progressing when rows feel easy
Progress without turning it into a circus
Once basic rows are comfortable, people often jump straight to weird variations. You don’t need that. I’d rather see you master a harder angle, a cleaner pause, and a slower eccentric. Those three tweaks keep the movement honest and keep tension where it belongs.
When you’re ready to add external load, do it sparingly. A weight vest is the cleanest way because it doesn’t swing. If you go that route, the Gornation weight vest is a solid, no nonsense option. If you want to compare models and what matters, check best weight vest for calisthenics.
Auto regulation: the “rep quality” rule
Here’s the honest truth: your row strength is usually limited by your ability to stay tight. So measure progress by rep quality, not just rep count. If you add reps but your hips sag and your shoulders shrug, you didn’t get stronger, you got looser.
A simple approach is to pick a rep range, like 8 to 12. When you can hit 4 sets of 12 with the same body angle and clean pauses, make the movement harder next week by lowering the setup or elevating the feet.
Bodyweight rows for your first pull up
Why rows carry over
Pull ups are a vertical pull. Rows are horizontal. They’re different, but rows teach the two things most beginners lack: strong shoulder blade control and the ability to keep the body tight while pulling. That’s why rows are one of my go to staples in pull up programs.
A simple pairing that works well
If you’re chasing your first pull up, pair rows with hangs and assisted pull ups. For example:
- Bodyweight rows: 4 sets of 6 to 12 with a pause
- Dead hangs: 3 sets of 20 to 40 seconds
- Assisted pull ups or negatives: 3 to 5 sets of 3 to 6 reps
If you want to refine your vertical pulling technique too, this guide helps: how to do a pull up with perfect form.
Veelgestelde vragen
How to train bodyweight rows if I can’t do a single clean rep?
Raise the bar or rings and bend your knees so your body angle is more upright. Focus on a tight plank shape and controlled lowers. Start with sets of 3 to 6 perfect reps and add reps week to week. Quality matters more than grinding out shaky attempts.
How to train bodyweight rows at home without a pull up bar?
A sturdy table row can work if the table is stable and heavy enough not to tip. Rings with a proper door anchor are another option, but only if the hardware is rated and secure. Avoid improvising with weak furniture. Safety beats creativity when you’re pulling your full bodyweight.
How to train bodyweight rows for pull ups specifically?
Use an overhand or neutral grip, pause one second at the top, and keep the body rigid. Train rows 2 to 3 times per week and combine them with hangs and assisted pull ups. Rows build your mid back and scapular control, which are key pieces for a strong pull up.
Where should I feel bodyweight rows, and what if I only feel my arms?
You should feel your upper back working with the biceps assisting. If it’s all arms, slow the tempo and start each rep by setting the shoulders down and back before bending the elbows. Also avoid flaring elbows wide. A neutral grip on rings often makes the back engagement easier.
How to train bodyweight rows when my shoulders feel uncomfortable?
Switch to a neutral grip and reduce the range of motion slightly while keeping the shoulders down, not shrugged. Make the movement easier by raising the setup so you can control every rep. Discomfort is often a form issue, especially excessive shrugging or letting the shoulders roll forward at the bottom.
If you want a strong, athletic upper body, bodyweight rows are absolutely worth treating as a main lift, not an afterthought. Keep your body tight, pull with your elbows, and progress the angle slowly. Train them 2 to 3 times per week, balance them with your pushing work, and aim for clean sets you can repeat. Once you can row with control at a low angle, you’ll notice better posture, stronger pull ups progress, and more stable shoulders across the board.


